


If you’re tired of carpenter bees damaging your wood, building a simple trap can help protect your home. By creating a basic DIY trap, you can catch these buzzing pests early in the season before they cause serious harm.
This guide will show you how to make an effective trap using just a few materials and how to place it for the best results.
Keep reading to learn the quick steps to keep carpenter bees at bay.
Why Carpenter Bee Traps Work For Home Control
Because carpenter bees instinctively seek out dark, sheltered cavities for nesting, a well-designed trap leverages that behavior to intercept them before your home sustains damage. You target only carpenter bees, not honey bees, so you can incorporate safety measures that protect pollinators and align with ethical pest control practices. The trap’s small entry hole and spacious interior chamber mimic a vacant nest, enticing females to enter and making escape difficult. Unlike broad-spectrum pesticides like bug bombs, which fail to target specific pests and pose risks to beneficial insects, a carpenter bee trap offers a safe alternative for focused control. Deploying traps in spring is most effective, as you catch scouting females before they start boring new galleries. Placing traps high on your home, near eaves or untreated wood, increases your chances of catching them. This method reduces the number of competing adults and helps slow the spread of damage, all without aiming for complete eradication—maintaining a targeted and responsible approach to pest management. For best results, choose a design that reviews top options for features like durable materials and effective bait chambers. For added protection against debris, consider pond netting options that can shield bait chambers without obstructing bee entry.
Gather Materials For Your Carpenter Bee Trap
To gather the materials for your carpenter bee trap, start with untreated wood such as cedar or pine, which are both durable and readily available. The core piece should be a 4×4 post approximately 5 to 8 inches long, providing enough space for the bees to enter while making the trap easy to handle. You’ll also need a transparent collection chamber, like a plastic soda bottle or a mason jar, along with its lid for attachment. Fasteners include nails or wood screws to secure parts, a screw eye for hanging the trap, and small chain or wire to hang it securely. These traps are designed to require no bait for attraction, as their design alone draws bees in. For those who prefer using bait, comparing the top options can help you select an alternative attractant if desired. For trap placement, consider that effective voles control often relies on positioning traps along walls where rodents travel. For a similar approach, using live rabbit traps can also be positioned along fence lines where rabbits commonly burrow.
A drill with bits around 1/2 inch diameter and a saw for shaping your wood pieces are essential tools. If you want a more finished appearance or to better blend the trap into your surroundings, consider using scrap wood or painting it with weatherproof paint, which also keeps costs low. Optional materials such as wood glue and honey can be used to enhance the effectiveness of some trap designs, but they are not strictly necessary.

Compatible with all Gibraltar Mailbox Posts made to be installed over a 4x4 post like the WP000W01
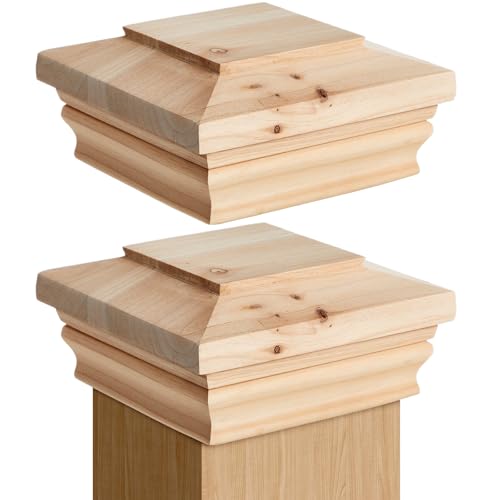
Package: includes 2 pcs 4 x 4 inch post caps
Cut And Shape The Roof For Weather Protection
Cut a roof piece for your carpenter bee trap with a 45-degree slope to shed rain effectively. Ensure the overhang measures about one inch on each side; this lip directs runoff away from the entrance and prevents water from dripping back inside. For additional protection against other pests, consider that effective bug bombs can help clear out any secondary infestations near the trap site. Using tin snips or aviation shears works well for cutting hardware cloth, allowing you to trim the mesh cleanly without fraying the edges. If standing water collects near the trap after heavy rain, note that mosquito dunks last for about 30 days and can help prevent mosquito breeding in that area.
Use weatherproof materials such as cedar, plastic, or aluminum flashing. Shingles also make a good option for a water-resistant surface. Seal every joint thoroughly with outdoor silicone caulk or construction adhesive to prevent moisture from seeping into the seams.
Secure the roof firmly to the trap body with screws. While placing the trap under eaves offers extra protection, a well-pitched, sealed roof will keep it functional through storms and rain.

Can be used in commercial and residential applications where a water-tight seal for roof penetrations around the piping for solar mounting system is required
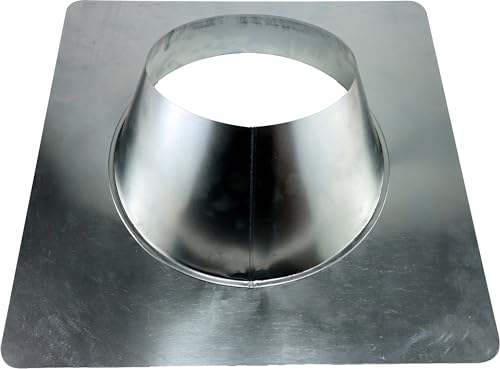
28 gauge G-90 ASTM-A653 CS Galvanized steel
Drill The Central Chamber And Angled Entry Holes
Start by drilling the central chamber with a 3/4-inch spade bit, centered on the bottom face of the block. Drill about 2 1/2 inches deep, ensuring the cut remains clean for smooth passage. Avoid forcing the bit, as applying gentle pressure produces better results and reduces the risk of splintering. After drilling, clear out all sawdust to keep the tunnel unobstructed.
Next, mark four spots near the top of the sides—about 3/4 inch from each edge—to retain strength in the structure. Use a 1/2-inch drill bit at a 45-degree angle. To create intersecting holes with the central chamber, start drilling straight, then tilt the bit upward. Make a light starter indentation to guide the angled hole. While precise angles are less critical, aim for a clean junction to ensure smooth tunneling. Properly aligned entry holes are essential for the trap’s effective operation. Unlike plants that rely on Venus Fly Traps for catching small insects, this design mechanically captures carpenter bees. However, if you are also concerned about stinging pests nearby, a bee suit can provide proven protection against wasps during outdoor tasks.

Precision Wood Boring Performance: Designed to bore clean, accurately sized holes in a variety of wood materials with less drilling pressure.
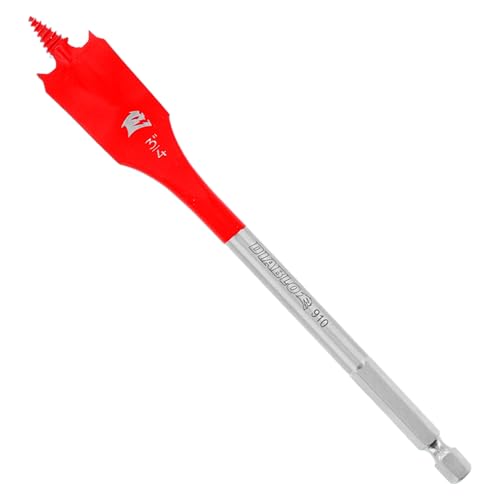
Great Value Pack - Includes 2 spade bits providing excellent value and ideal for medium - sized holes in wood, suitable for various woodworking projects.

Angled spur design cuts accurate holes cleanly and quickly
Connect The Tunnel To The Mason Jar
To connect the tunnel to the mason jar, align the central chamber’s bottom exit directly with the lid’s opening so bees move straight into the jar. Use a lid with a hole cut slightly larger than your tunnel diameter—typically ½ to ¾ inch—to prevent blockages. Fasten the lid flush to the wood’s underside with small screws, making sure to avoid the central opening and jar threads. This secures the connection without hindering removal. As noted in this DIY solution to bee intrusion, a single bee captured may not indicate full success, but the design remains quick to build with simple wood and jar components.
Check for sharp edges around the lid hole and file them smooth to prevent injury or damage to the jar’s threading. Ensure the jar screws on smoothly and the passage remains unobstructed. A centered, snug fit provides a continuous path from chamber to jar, increasing trap efficiency and preventing light leaks or misalignment.

PACKING LIST: Including 6 pack plastic regular mouth mason jar lids in 6 colors: White, Green, Blue, Yellow, Pink, Light yellow. And 6pc large stainless-steel straws and 2 straws cleaning brush (JAR NOT INCLUDED)
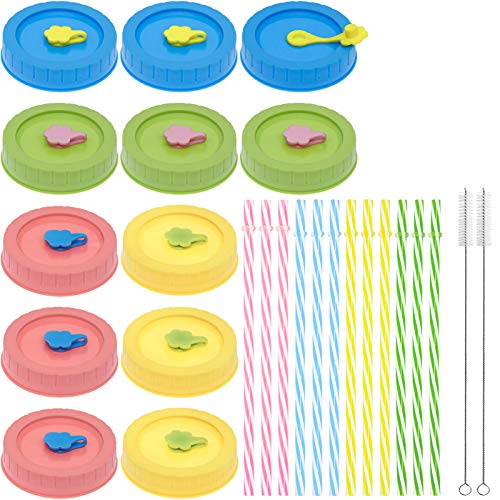
VALUE PACKAGE-Includes 12 Pack of plastic mason jar lids with straw hole, silicone stoppers, silicone rings, 12 straws, and 2 cleaning brushes. These mason jar straw lids fit all size of wide mouth mason Jar, and canning jars perfectly.

PACKING LIST: Including 6 pack plastic mason jar lids in 6 colors: White, Green, Blue, Yellow, Pink, Light yellow. And 6pc large stainless-steel straws and 2 straws cleaning brush
Attach The Collection Jar To Your Carpenter Bee Trap
To attach the collection jar properly, you should secure the lid to the trap base using small screws placed evenly around the outer ring. This creates a tight seal that holds the jar directly beneath the exit hole, preventing bees from escaping and ensuring easy removal. First, drill the lid opening to match your trap passage, then remove any burrs around the hole to ensure clean threading. When installing the screws, align the lid carefully to avoid misfits, which can complicate cleaning and might cause gaps. Use a standard mason jar with a metal lid for a secure fit—metal lids typically have robust threads that won’t wobble or strip easily. Tighten the screws just enough to keep the lid firmly in place without over-tightening, which can damage the threads. This solid connection is vital because the jar will be subjected to weather and vibrations, and a secure attachment ensures you can quickly and safely empty the captured bees when needed. For added stability, choosing sturdy stakes to anchor the trap outdoors helps maintain proper alignment during use. Lightly hammer sharp edges on the lid hole for easier bee entry, as noted in the step-by-step assembly instructions. If the trap becomes damaged from environmental wear, inspecting for gaps regularly can help you identify weak points before they compromise the seal. For fruit flies, a vinegar-based bait works even more effectively than standard lures to attract pests into the collection jar.

12 WIDE MOUTH 316 STAINLESS STEEL LIDS & 12 SILICONE GASKETS (TOTAL 24 PIECES). Fits wide mouth Kerr / Ball Mason jars with 3 3⁄8" outer diameter of glass jars.

Add vintage farmhouse charm to your mason jars with Sunshine Mason Co.'s 12 pack of decorative daisy cut metal lids

Quantity: each set contains 30 packs mason jar lids 70mm / 2.8 inches in diameter, 16 mm / 0.6 inches in height; These mason jar lids are only suitable for standard mud pots, but not for other types of wide-mouth bottles
Hang The Trap Near Active Damage
Hang the trap near active damage by positioning it directly above or close to visible bee holes. Focus on areas where bees are drilling or hovering, such as porch eaves, fascia boards, or deck railings. Place the trap at a height where bees naturally pass by, ensuring it is clearly visible against the structure and not hidden in clutter. For optimal warmth and activity, hang it on sunny, south- or west-facing sides. Consider placing the trap in corners or at peaks where bee activity is concentrated. Seasonal timing matters; placing the trap in spring when new damage appears captures emerging bees early. Keep it close enough to intercept bees before they bore further, but avoid blocking or covering the hole itself. This targeted placement increases the likelihood of capturing the bees effectively. As with any pest trap, following basic safety precautions helps prevent unintended harm to people or pets. For added success, ensure the trap remains at a consistent height near the active holes, as chipmunks often follow predictable travel routes along structures. You can also position the trap near balcony netting to shield the area from other pests while targeting bees.
Empty And Maintain Your Trap
Emptying and maintaining your trap regularly is essential for effective pest control. Once the collection chamber holds about 40 to 60 bees, it’s time to clear it out. Always wear protective gear first to avoid stings. Use the pull-string or bottom-door release to drop the bees into a sealed bag for safe disposal. To prevent odor and decay, freeze the bag or submerge it in plain water before discarding it. For even greater efficiency, consider using a CO2 attractant to mimic human breath and lure more carpenter bees to the trap. For durable material selection, hardware cloth can also be used to reinforce the trap against gnawing damage from larger pests.
Cleaning the entrance holes is also crucial. Use compressed air to clear away spider webs, dirt daubers, or other debris that can block the opening. Leaving a few dead bees inside can help attract more through pheromones, but watch for mold or rotting remains that can spoil the trap environment. Check your trap every spring, aligning maintenance with seasonal activity to ensure optimal performance. Regular inspections help prevent blockages and spoilage that reduce the trap’s effectiveness. If you notice no captures after cleaning, consider relocating the trap to a more active spot. For better durability, consider choosing bird netting options that resist weather damage and keep pests from accessing your coop.