

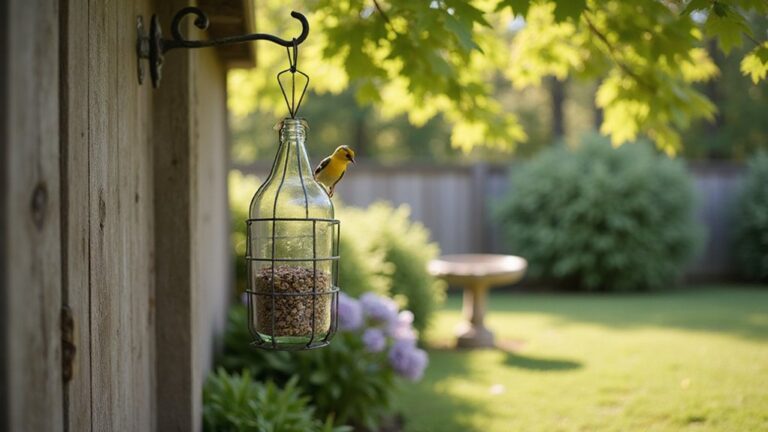
Wondering how to build a bird feeder that keeps out squirrels but welcomes songbirds? You can create a simple, effective cage using galvanized hardware cloth with 1.5-inch openings.
By choosing the right size and following a few easy steps, you’ll have a sturdy, pest-resistant feeder ready to hang in no time.
Keep reading to learn the full build process.
Why Build a Caged Bird Feeder Instead of a Standard One?
Building a caged bird feeder is an effective way to deter squirrels and larger pests from raiding your bird food. The narrow mesh openings allow smaller songbirds like chickadees, finches, and titmice to access the seed while blocking bigger pests such as starlings and grackles. This design results in less seed waste since dominant birds can’t scatter seed everywhere to dominate the feeder. Additionally, adding a roof or dome helps keep the seed dry during wet weather, reducing the risk of mold. Beyond its functionality, a caged feeder also serves as a practical yard decoration, creating a calmer feeding environment. Smaller songbirds will feed more comfortably with less competition, making your backyard a more inviting space for a diverse array of species. For an added layer of protection, consider choosing a feeder with specialized wire mesh that can also deter carpenter bees from boring into the wood. When handling or installing wire mesh treated with protective coatings, you should wear chemical resistant gloves to prevent skin irritation from residual chemicals. If you notice persistent pests near the feeder, you can apply effective yellow jacket trap methods to reduce insect interference around the feeding area.
What You’ll Need to Build a Squirrel-Proof Cage Feeder
Galvanized steel wire mesh or hardware cloth with approximately 1.5-inch openings is ideal for building a squirrel-proof cage feeder. This size is small enough to keep squirrels out while still allowing small songbirds to access the seeds. Choose mesh with thick, sturdy gauge wire to prevent bending or chewing through. Avoid thinner, flimsy materials, as squirrels can quickly deform them. While ultrasonic repellers claim to deter pests, tested results show they are largely ineffective for outdoor use. For additional pest protection, note that heavy-duty bee suits are often ineffective against wasps in open outdoor settings. For deer, selecting a heavy-duty netting with similar small openings can also prevent them from reaching the feeder or damaging the cage. Construct the inner seed tube, suet cage, or hopper from durable materials such as powder-coated metal or polycarbonate—both are weather-resistant and strong enough to last outdoors. Avoid soft plastics like acrylic, which can be easily scratched or chewed. Secure all components tightly using outdoor-safe bolts and screws, and incorporate a rigid top support frame to align and stabilize the cage. Mount your feeder on a sturdy hook or pole, and add a squirrel baffle below or around the cage for additional protection. Proper material selection and solid construction will help ensure your feeder remains squirrel-proof over time.
Pick the Right Cage Size for Small Songbirds
For small songbirds like finches, chickadees, and sparrows, cage openings should be between 1.25 and 1.5 inches. This size prevents larger birds and squirrels from getting in while providing easy access for your target species. When choosing a cage, consider the overall dimensions, especially height, which should fall between 6.9 and 13.5 inches to offer enough vertical space for perching comfortably. The cage’s grid pattern is also important; opt for materials with 1.5-inch by 1.5-inch openings. This spacing ensures small birds are kept safe from potential predators or escape routes. Always measure the gap between bars at multiple points to confirm consistent spacing and avoid oversized openings, which could compromise safety. Compact cages around 8 to 10 inches wide are ideal for tight spaces, combining accessibility with protection. Remember, tighter spacing not only keeps your small songbirds safer but also maintains a secure environment for your feeder. For additional predator defense, consider using heavy-duty live traps designed for larger pests to protect the feeder area. To confirm the wire is sturdy enough, check that it is made from a 14 to 20 gauge material to prevent bending or breakage from weather or animal pressure. Using a similar gauge mesh over the feeder area can also help deter larger pests.
How to Assemble the Cage and Position the Inner Feeder
To assemble the cage and position the inner feeder correctly, start by aligning the front, back, and side panels so the structure remains square and the feeder sits evenly. Using threaded inserts or connector points can make this alignment easier, as they eliminate the need for additional nuts and help keep everything in place. Attach the panels in sequence, checking each corner carefully before tightening each fastener fully. Once the main body is secured, fit the top and lower supports. Make sure all access openings remain unobstructed to allow easy installation of the feeder later. Select a spot inside or on the cage that is accessible for birds and ensures the feeder attaches securely to horizontal bars. Always handle any sharp metal edges with protective gear to avoid cuts or stings during assembly. For a more durable and cost-effective build, consider using chicken wire for the cage panels instead of other materials. If you want to keep larger pest birds away from the seed, adding bird spikes to the top of the cage can deter them from perching.
Next, position the inner feeder within the cage so its tabs or fins engage securely with the cage structure. If your feeder base has holes, line them up with the cage bottom before adding a wing nut or using a snap fit. Keep enough clearance around the feeder so birds can reach the seed easily without contacting the mesh. The material—plastic or metal—affects durability, while design features like side openings versus interior mounts influence placement. Secure all fasteners evenly to prevent shifting and check that the feeder does not rattle when gently shaken. Confirm stability before proceeding with further assembly.
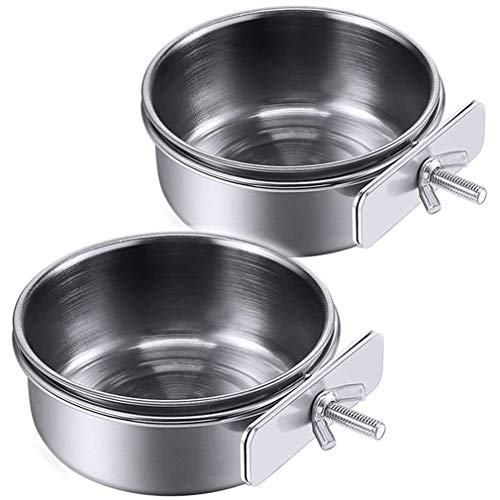
Water or food: Hanging in the cages, stainless steel bird food bowls can be used to hold food or water, and prevent your bird from accidentally tipping the food or water bowl

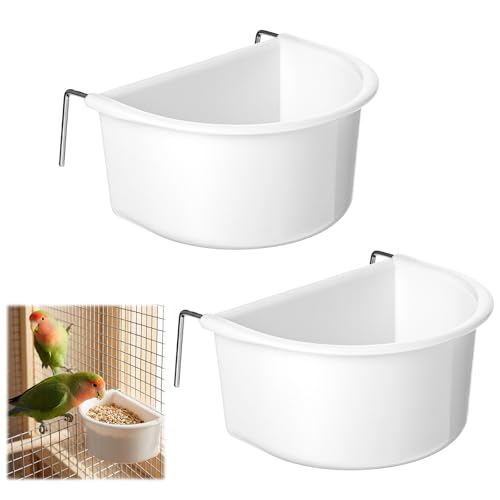
[Multifunctional Design] Our bird bowls for cage set combines the functions of a seed dish and water bottle, making it a practical addition to any birdcage. The bird food bowl easy-to-clean design ensures a tidy environment inside and outside the cage, providing a hygienic space for your feathered friend
Where to Hang Your Feeder to Block Squirrels and Simplify Refills
Hanging your feeder at least five feet above the ground and ten feet away from launching points like trees, fences, or roofs provides the strongest squirrel resistance. Squirrels struggle to reach feeders positioned higher than five feet off the ground, and placing them at least ten feet from potential launching spots minimizes their ability to leap directly onto the feeder. Using smooth metal poles or shepherd’s hooks makes climbing more difficult for squirrels because they cannot grip slippery surfaces easily. For a more durable setup, choose metal fence posts to secure the pole firmly in the ground. Adding a dome baffle approximately four to five feet above the ground further prevents leaps, acting as an effective obstacle. Opt for a pole or hook that allows you to refill the feeder easily without using a ladder, and position it so it remains reachable without stretching over shrubs. Measure from snow level in winter to ensure your chosen height and distance remain effective despite ground conditions. Keep your feeder ten feet out from launching points and five feet high for optimal squirrel protection. For potted plants near your feeder, consider using chicken wire options to protect the soil and plants from digging or damage. If your setup is near a roof, attaching bird spikes for roofs can prevent squirrels from using that surface as a launching point.

7-PRONG STABILITY BASE - BUILT TO STAY SECURE IN WIND: Most shepherd's hooks anchor on 2 prongs. This one uses 7 prongs, each 9.8 inches deep across a 9.2 x 10.2 inch footprint — more contact area and more depth keeps a loaded pole from leaning. Press down evenly on all seven prongs for a secure installation. In hard or stony ground, water the spot the day before to make installation easier.

【UPGRADE VERSION 3 HOOKS DESIGN】FEED GARDEN shepherds hooks for outdoor are designed with 3 strong and durable hooks in a classic curved design that allows you to hang bird feeder, plant baskets, solar light lanterns, wind chime, wedding decorations and so on. At the same time, the top pole in the middle of the three hooks can prevent your lovely bird from trapping into the gap, far away from danger.
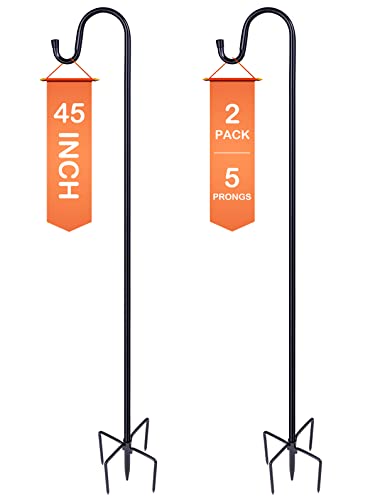
【Upgraded in Stability & 5 Base Prongs】Compared to other similar hooks in the market, our heavy duty shepherds hooks have upgraded with 4 extra long and double-forked base prongs to be total 5 prongs which makes it the strongest garden hook in the market and maintain a fixed, upright posture while remaining firmly planted in the ground without easily falling down.
Simple Maintenance Tips to Keep Your Caged Feeder Clean and Durable
To keep your caged feeder clean and durable, clean it thoroughly at least once a month. During wet weather or heavy use, aim for every two weeks. Start by disassembling all parts of the feeder. Use hot, soapy water and a stiff brush to scrub away debris and old seed buildup—this is your primary cleaning method. After scrubbing, soak all parts in a dilute bleach solution, using a ratio of one part bleach to nine parts water, to eliminate bacteria and pathogens. Rinse each part thoroughly with clean water to remove any bleach residue, then let everything air dry completely before reassembling. Proper drying prevents moisture damage and mold growth. Instead of composting leftover seed, discard it to reduce pest attraction, especially for rodents and insects. This is wise because many pests, such as possums, are drawn to easy food sources, and you can learn more about effective bait ideas for traps if needed. Using a fruit fly trap near the feeder can further prevent insect infestations from old seed. For severe roach problems near the feeder, consider using bug bomb options that target hidden insects. During inspection, check for rust on metal components and mold on wooden parts. Dry wooden feeders well to prevent warping and ensure longevity. Regular maintenance prevents dirt and buildup from hardening, keeping your feeder safe for birds and standing strong through seasons.