

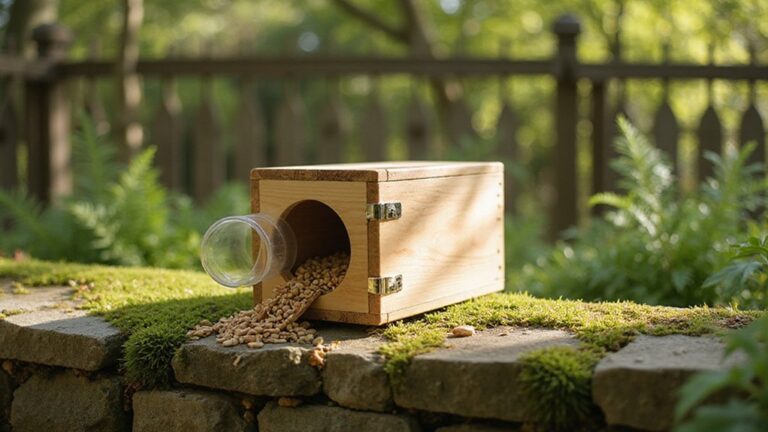
Looking for an easy, affordable way to catch chipmunks without spending a lot? You can build a simple trap for under $10 using just a few household items, and it takes roughly ten minutes.
With a bucket, a ramp, and a sensitive trigger stick, you’ll be able to set up a trap that works effectively and keeps bait theft to a minimum.
In the rest of this guide, you’ll learn how to assemble this straightforward trap step by step so you can start catching chipmunks quickly and cheaply.
Why a Bucket Trap Is the Easiest Chipmunk Solution
A bucket trap is the simplest DIY solution for catching chipmunks. It uses a 5-gallon bucket combined with a ramp to create an effective trap without the need for springs or cages. You attract the chipmunk by placing bait—such as sunflower seeds, unshelled peanuts, or peanut butter on a cracker—on the ramp and inside the bucket. The chipmunk’s natural foraging behavior guides it onto the ramp, where it falls into the bucket when reaching for the bait. For maximum effectiveness, secure the bait to the plank using peanut butter as glue to hold seeds in place. To ensure safety, position the trap where children and pets cannot access it, especially if you use a water-filled version. Place the trap near active burrows or travel paths to target chipmunks where they are most active. This approach is low-cost, flexible—since you can move it around—and works well for monitoring and controlling chipmunk activity. For constructing the ramp, you may need to cut the material to size, and hardware cloth is a durable option that can be snipped with tin snips. Because chipmunks are persistent climbers, you can also add a wooden plank that extends past the bucket’s rim, mimicking the natural bridges they use, which improves the fall-in rate. To keep the ramp stable, secure it to the bucket using correct spacing of staples or nails along the edge.

Mouse Trap:Automatically resets and holds upwards of 10 mice and 5+ medium-sized Rats. Unlike conventional mouse trap bucket lid which only catches 1 or 2. The test concluded that the multi-catch traps by almost 4x. [5 Gallon Bucket is NOT included]

Bucket Lid Mouse Trap: Automatically resets and holds upwards of 10 mice and 5+ medium-sized Rats. Unlike conventional mouse trap bucket lid which only catches 1 or 2. The test concluded that the multi-catch traps by almost 4x. 5 Gallon Bucket is NOT included

New design: According to the feedback from customers, we have newly designed this product, which is the only design on the market.
What You’ll Need: The $10 Chipmunk Trap Materials
To set up your $10 chipmunk trap, gather these simple materials. Start with a standard 5-gallon bucket, which provides enough depth to serve as the capture chamber without needing an additional enclosure. A 3- to 4-foot scrap piece of wood, such as a 1×3 or 2×4, works well as a ramp for the chipmunk to climb into the trap. For the trigger mechanism, a thin dowel or a paint stir stick is inexpensive, widely available, and easy to modify. Bait options like black oil sunflower seeds or peanut butter are affordable and highly attractive to chipmunks. Basic hardware such as screws will be needed for assembly. Keep in mind that selecting weather-resistant wood will simplify trap maintenance and ensure durability in rainy conditions. You can skip attaching a lid initially unless you plan to add mesh coverage later for added security or safety.
![2 Pack Mouse Rat Trap Bucket,5 Gallon Mouses Rat Traps Indoor for Home,Reusable Mouse Catching Tool-Owl Style, Bucket Lid Rat Traps Indoor Outdoor[5 Gallon Buckets is NOT Included]](https://m.media-amazon.com/images/I/41YvUHiZETL._SL500_.jpg)
【Humane Mouse Traps】:Automatically resets and holds upwards of 10 mice or 5+ medium-sized Rats. [5 Gallon Bucket is NOT included]

【2026 New Mouse Traps】:The new mouse traps has upgraded its metal buckle and screw installation method, with better performance than ordinary plastic alternatives, greatly increasing its durability

Mouse Trap Bucket: Automatically resets and holds upwards of 10 mice and 5+ medium-sized Rats. Unlike conventional mouse trap bucket lid which only catches 1 or 2. The test concluded that the multi-catch traps by almost 4x. 5 Gallon Bucket is NOT included.
How to Build the Ramp and Trigger in 10 Minutes
To build the ramp and trigger in 10 minutes, start by setting the bucket on flat ground to ensure a stable base for the trigger’s balance. Rest your 2-foot ramp board with its top edge securely on the bucket rim, allowing about 2 inches of overhang to create a gentle incline. Use a flush nail as a lip hook to prevent slipping. Keep the ramp angle light to make climbing easy. Always wear heavy gloves when handling springs and snap mechanisms to avoid injury. Apply a scent spray around the trap area to mask human odor, which helps keep wary chipmunks from avoiding the setup. Mosquito dunks typically last for up to 30 days in standing water, a key factor for ensuring long-term pest control in nearby sources. For an added layer of protection around your potted plants, consider encircling them with chicken wire to physically block access.
Next, create the trap mechanism. Place a support stick across the bucket opening, horizontally. Then, balance a thinner trigger stick against the support, centering it to maximize trigger sensitivity. Adjust the position until the slightest pressure causes it to collapse—aim for a hair-trigger release. Finish by positioning the ramp so it directs movement straight toward the trigger zone. Lightly press the trigger to test; it should tip immediately. When done correctly, the ramp and trigger are ready in just 10 minutes.
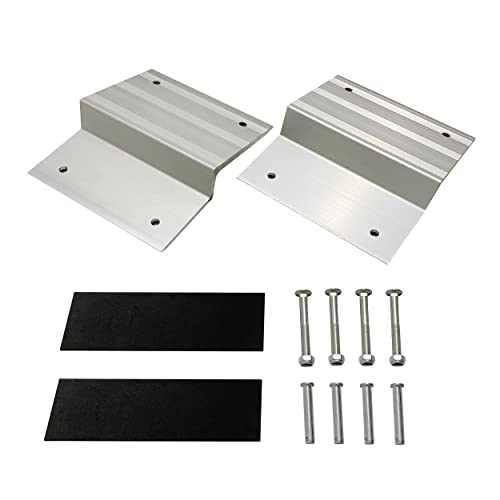
Turns your 2" x 8" boards into a sturdy, all-purpose utility ramps for loading your trailer, truck, shed and more


Where to Place Bait for a Perfect Chipmunk Catch
Place the bait deep enough behind the trigger plate to ensure the chipmunk fully commits its body before reaching the food. For a one-door trap, position the bait directly behind the trigger, away from the walls, and spread peanut butter or place solid bait larger than the mesh openings on the trigger plate. In a two-door trap, center the bait behind the trigger, burying it under the plate or hanging it from above. Use small, secure bait like peanut butter or unshelled peanuts for best results. For a budget-friendly option, you can also use a diluted vinegar mixture to attract gnats, though this is less effective for chipmunks. Align your trap with the chipmunk’s natural travel lanes, burrow entrances, or den areas, and set it perpendicular to walls to encourage natural entry. Secure the trap firmly so it does not shift before the animal triggers it. For durable, long-term trapping setups, consider using hardware cloth to reinforce the trap body against persistent gnawing. Always follow safety precautions when handling traps and bait to avoid accidental injury.
3 Fixes If Chipmunks Steal Bait Without Triggering
To prevent chipmunks from stealing bait without triggering the trap, you should first make the bait harder to take. Smearing peanut butter directly onto the trigger plate ensures contact when the animal attempts to steal it. Securing solid bait with wire or floss also prevents the chipmunk from pulling it away easily. Additionally, using items larger than the trap openings, like unshelled peanuts, forces the animal to contact the trigger when trying to retrieve the food. These adjustments improve bait security and reduce the chance of the critter running off with the meal. For more robust prevention, consider mounting the trap on a squirrel-proof pole to limit access from ground-based pests. Using chicken wire around the trap base can further block ground-based tampering. Purchasing one of the best live animal traps for cats can also provide more reliable trigger mechanisms for small critters.
Next, increase the trigger sensitivity to ensure the trap fires when the animal steps on it. Check if the mechanism is too stiff or unresponsive. Lightly sanding the trigger plate or gently bending the release bar can reduce the pressure needed to activate the trap. Always test the setup with a light touch before resetting. Fine-tuning the sensitivity helps catch the chipmunk when it steps on the trap instead of avoiding it altogether.
Finally, encourage the chipmunk to fully step on the trigger by positioning the bait directly behind it in one-door traps. Block any easy reach from the entrance so the animal must enter deeper into the trap. Place the bait so it requires the chipmunk to fully step into the trap and put its body weight on the trigger. This guarantees contact with the sensitive release point and reduces the chance of escape or bait theft without activation.

SECURE COMPACT DESIGN - High-quality, lockable, tamper-resistant, only 8.5" x 7" footprint

Not attractive to domestic animals like dogs and cats.
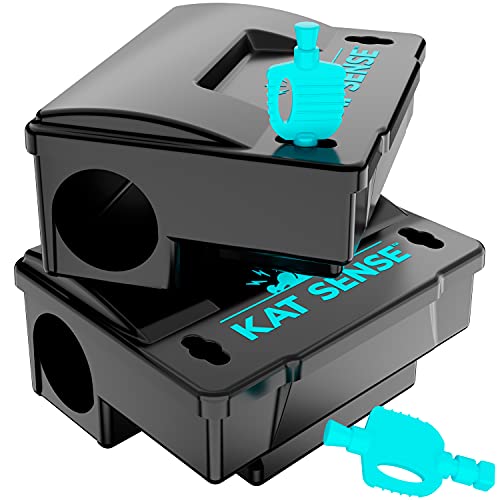
Eradicate Rodents Effectively - with tamper-resistant mouse and rat bait stations by Kat Sense. Loaded with your preferred mouse or rat poison, they discreetly rid your property of vermin without messy and dangerous mouse traps.
Where to Set a Chipmunk Trap for Maximum Results
Set your trap along walls, fences, or foundations where chipmunks’ activity is most concentrated. They prefer edges over open spaces, so position traps beside structures like sheds, decks, or retaining walls. Look for visible runways through mulch or grass and avoid random yard areas. To minimize predation risks, place traps near cover such as shrubs or brush, but ensure these do not block burrow entrances. Align the trap entrance directly with their travel path for better catch rates. Placing multiple traps near different activity zones increases effectiveness. Use a stable, level surface to prevent wobbling and place traps early in the morning when chipmunks are most active. For even greater attraction, consider baiting with scents that mimic those found in commercial CO2 options for trapping pests. Check traps daily to ensure optimal results.
Build a Reusable Chipmunk Trap Box (Optional Upgrade)
To build a reusable chipmunk trap box, use narrow 1×4 lumber, approximately 11 inches long. The side walls should be 3 to 3.5 inches high to guide chipmunks directly to the trigger while preventing escape. Attach a roof panel, back stop, and hinged front door with a gravity-assisted closure to ensure easy access and reliable trapping. Drill the trigger hole about 2 inches from the rear of the box to promote consistent cycling of the trap. Using mosquito dunks in nearby water features prevents larvae from developing, keeping your yard safer while you manage the trap.
Wire mesh on the sides allows airflow and keeps the chipmunks inside, while still preventing escape. For vole control, choose heavy-gauge hardware cloth to ensure animals cannot chew through the mesh. For maintenance, include a removable back panel or an openable lid to make cleaning and rebaiting quick and simple. Always wear gloves when handling the trap and rinse components with water between captures to reduce disease transfer. Use durable materials such as scrap wood and small hinges to withstand repeated use, making your trap effective over many captures. Tamper-resistant designs ensure bait remains inaccessible to non-target animals, echoing the safety principles of commercial stations. Additionally, applying mosquito bits to standing water in your yard can help control mosquito larvae, reducing the risk of bites while you work outdoors.

Premium Construction - Tough & Sturdy: The TeqHome rat trap is made of sturdy, rust-proof wire mesh and rebar, and is galvanized, Rust and corrosion-resistant, with No chemicals or glues, and durable

Not Easy to Escape Design: Light weight iron material structure, small mesh openings and door locked tightly ensure the trapped rodent animals no way to escape easily,constructed of sturdy galvanized steel for maximum resistance to rust and corrosion, If you want to catch a big one, please choose a bigger size.

Humane Catch Release Design: designed for capture without harm, this humane mouse trap safely catches rodents and mouse so they can be released away from your home; Ideal for rats, chipmunks, squirrels, voles, and hamsters
How to Release a Chipmunk Trap Safely and Legally
To release a chipmunk safely and legally, wear gloves to protect yourself and prevent disease transmission. Keep the trap level during transport to avoid stressing the animal. Move calmly and steadily to a wooded area with plenty of cover, such as shrubs and fallen logs, at least three miles away from your home. Releasing the chipmunk near roads, pets, or people increases the risk of harm or re-capture and should be avoided. If the chipmunk appears injured, contact a licensed wildlife rehabilitator instead of releasing it yourself. Conduct the release during mild weather conditions and avoid late summer, as this helps prevent the animal from losing access to winter food caches that it depends on. After releasing the chipmunk, wash your hands and disinfect the trap thoroughly with gloves on to minimize the spread of disease. Store the trap in a dry, clean place when not in use, ensuring it is ready for your next rescue. Wearing a bee suit offers no protection from wasp stings, as they can penetrate the mesh. For situations where trapping fails, consider using bait stations with rodenticides designed for chipmunks instead. Before releasing, note that coyote urine may actually attract predators to the area, so avoid using it as a deterrent near your release site.