


Dealing with wasps can be frustrating and even dangerous, especially during warm months. Luckily, you can make an effective and inexpensive spray at home with just a few simple ingredients. It’s easy to prepare, safe to use around your home, and works quickly to keep these pests at bay.
Ready to learn how to create your own wasp spray that’s cheap, simple, and effective? Keep reading for all the tips and recipes you need to stay protected.
The Basic DIY Wasp Spray Recipe: Water and Dish Soap
To make a basic DIY wasp spray, combine 2 tablespoons of dish soap with 1 quart of water in a spray bottle. The dish soap acts by coating the wasps’ bodies, disrupting their breathing and causing them to suffocate upon contact. This method works as a contact spray, meaning you need to spray directly on the wasps or the nest for effective results. For those who prefer a non-contact approach, consider using a top bee trap designed to capture carpenter bees without needing direct spraying. Spray from a safe distance to avoid provoking the insects and ensure full coverage. While essential oils can serve as repellents, this simple mixture is primarily used to kill wasps when they come into direct contact. Always wear protective clothing and test your spray on a small area first to prevent accidental damage or misapplication. Keep in mind that this solution is inexpensive and effective for small infestations or isolated nests, but coverage and soap concentration are key factors for success. Do not rely on it for large or high-risk nests. This method is non-toxic and cost-effective, as it uses only household items. For safer handling near aggressive wasps, wearing a bee suit can provide adequate protection against stings during application. For larger infestations or when dealing with cockroaches, a tested alternative like wasp spray may prove more effective than soapy water.
How to Mix Your Spray Without a Foamy Mess
To prevent foam from turning your spray into a frothy mess, start by filling your tank halfway with water. Add your soap slowly, then top off the rest of the tank gradually. This slow filling minimizes splashing and traps less air, which helps reduce foam formation. Before vigorous mixing, add an anti-foam agent early in the process—this preemptive step is more effective than trying to fix foam after it appears. Keep your agitation gentle by spraying inflow against the tank wall instead of the water surface, which limits aeration. If foam starts to form during mixing, stop agitation briefly and apply a direct dose of anti-foam formula to the foam surface. Match your anti-foam dose precisely, typically around 1 to 2 fluid ounces per 100 gallons of mix, to avoid waste and potential damage to your sprayer.
When to Add Peppermint Oil or Vinegar for Extra Punch
Use peppermint oil proactively, adding 20-25 drops per 2 cups of water in your spray. This stronger scent works best when applied before wasps settle, such as on eaves, door frames, and windowsills. Timing is key: spray in the morning or evening when wasps are most active around your perimeter. Reapply every few days, especially after rain, since the scent fades quickly and the deterrent effect diminishes. For a more robust defense, consider building a DIY yellow jacket trap using cheap materials as a complementary strategy. Additionally, moving your trap to a shaded location can improve local control by keeping the bait cooler and more attractive to foraging pests. For a similar indoor approach, you can use fruit fly traps that rely on scent to lure pests away from your living spaces.
Vinegar, on the other hand, is not effective as a standalone repellant but can serve as a secondary ingredient. Its primary role is to attract wasps into traps rather than repel them. When you add vinegar to your spray, do so in small amounts—around a tablespoon per cup of water—only to provide scent complexity alongside peppermint oil. Rely on peppermint oil as your main, timing-sensitive repellent; vinegar can support scent but should not be considered a primary deterrent.
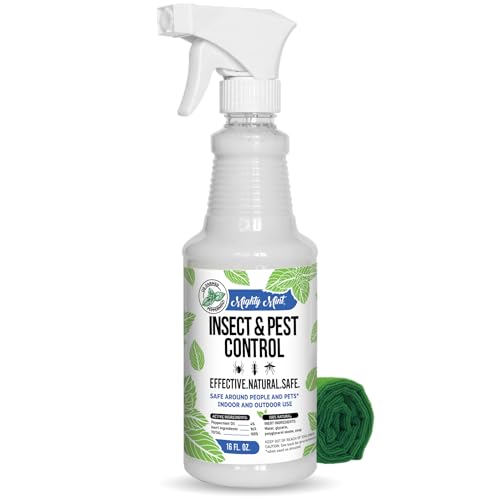
Pet-Friendly & Family-Safe Formula – Mighty Mint is a top pick for pet parents looking for a natural pest control solution. Safe to use around dogs, cats, and kids when applied as directed—no harsh fumes or dangerous chemicals, just powerful peppermint protection you can trust.
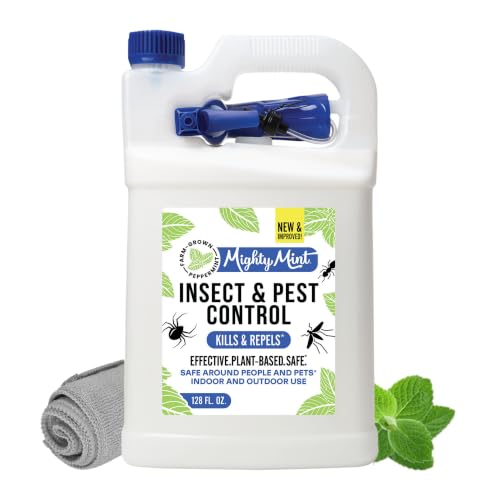
Pet-Friendly & Family-Safe Formula – Mighty Mint is a top pick for pet parents looking for a natural, pest control solution. Safe to use around dogs, cats, and kids when applied as directed—no harsh fumes or dangerous chemicals, just powerful peppermint protection you can trust.
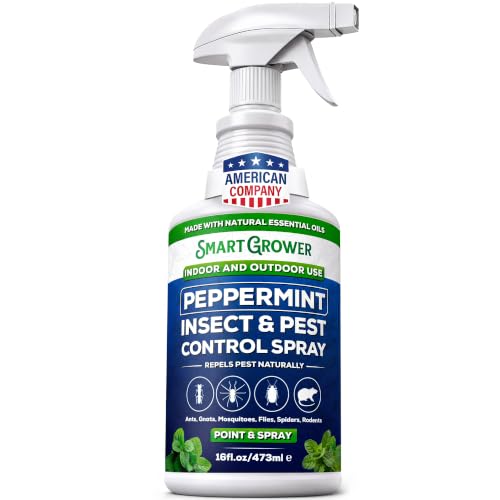
REPELS MICE, RATS & RODENTS WITHOUT TRAPS OR TOXINS – Our peppermint oil spray for rodents is a powerful, all-natural rodent repellent that drives away mice, rats, and other pests on contact. Use indoors and outdoors to protect your home, garage, attic, basement, and vehicle.
How to Fill a Spray Bottle and Test the Sprayer
To fill a spray bottle and test the sprayer, start by unscrewing the lid and pouring your liquid into the container, typically until it’s about two-thirds full to allow space for pressure buildup. After filling, screw the lid back on securely. Pump or squeeze the trigger to prime the nozzle until you see a steady stream of liquid. This indicates the sprayer is ready. Next, test the spray pattern on a piece of paper. Aim at the paper and activate the trigger; look for an even, cone-shaped spray without sputtering or uneven patches. If the spray is weak or inconsistent, clean the nozzle tip with warm water and a soft brush to remove any residue. Also, check the intake tube inside the container for blockages that might limit flow. To maintain consistent performance, regularly inspect the sprayer pump seals for wear and replace them if air is escaping.
If the spray pressure diminishes quickly during use, ensure the lid is tight and seals properly; worn or damaged seals can cause loss of pressure. Replacing these seals or the entire nozzle assembly may restore proper function. Remember to dispose of the bottle according to the container disposal rules, especially if it previously held toxic or hazardous materials; never reuse toxic containers for household water or other safe liquids, as some residues, such as coyote urine, may pose safety risks. To ensure proper material flow, strain any paint or liquid before filling to prevent debris and clogging tips. For similar waste-avoidance in nature, consider how a raccoon baffle prevents animals from climbing a pole to reach a bird feeder.

Universal Design: The spray nozzle for bottles is designed for most 16oz/24oz/32oz bottles. You don't need to buy spray bottles separately. Just use spray nozzle to replace the bottle head so as to save money and time.

Designed for 16oz Sally's Organics Bottles: Specifically made for 16oz Sally's Organics glass spray bottles, this clear spray nozzle also fits popular brands like Grove Co and Force of Nature bottles

Designed for Sally's Organics Bottles: This black spray nozzle fits perfectly with Sally's Organics glass spray bottles, including the popular 16oz clear and amber bottles; also compatible with other standard-sized glass spray bottles
Where to Spray for Direct Contact and Nest Control
To effectively perform direct-contact control, aim your spray directly into the nest entrance—do not just spray onto the outer surface. For aerial nests, target the bottom entry hole first, then spray the rest of the nest thoroughly. Use a spray that is chemically compatible with your equipment materials to prevent corrosion or damage. Achieving full nest saturation is essential because killing only the worker insects leaves the queen alive, allowing the colony to continue. Before starting, verify your sprayer’s maintenance—clogged nozzles can throw off your aim and reduce effectiveness. Treat only visible nests from a safe side angle, avoiding direct flight paths to minimize risk. The best wasp nest sprays often feature a long-range jet to keep you at a safer distance during application. Late evening is the ideal time for treatment, as wasps are less active and easier to target when sluggish. Avoid wasting spray on hidden nests; direct contact only works when you can see the nest opening clearly. In addition to direct spraying, wear protective clothing to guard against potential stings during the process. For severe infestations, a bug bomb for fleas can also kill wasps if the nest is in an enclosed space.

FAST KNOCKDOWN: Kills wasps, hornets & yellow jackets.

The information below is per-pack only

BLANKETING FOAM: Foaming aerosol kills listed insects by contact.
How Often to Reapply for Reliable Results
Reapplication should be done daily until you see no wasps entering or exiting the nest opening. The key is continuous monitoring; if activity persists, reapply within 24 to 72 hours. Environmental factors such as rain, humidity, or heat can reduce the effectiveness of your spray within hours, prompting earlier re-treatments. Check the nest opening each evening—if even one wasp is seen entering or leaving, reapply immediately. Keep rechecking until no activity is visible for 48 to 72 hours. Once wasps are no longer active, you can stop treatment, but reapply promptly if they return—don’t wait for a fixed schedule. Consistent, attentive reapplication ensures the colony is fully targeted and reduces the chance of a resurgence. For a more durable application method, consider building a simple backpack sprayer rack to keep your spray tool secure and ready for daily use. For those also dealing with ground pests, live rabbit traps can be positioned nearby to capture other garden nuisances without harming them.
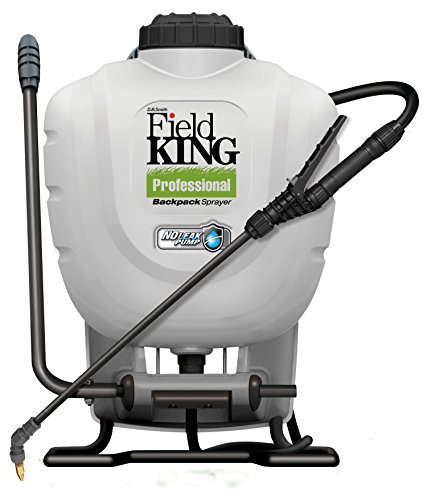
Internal No Leak Pump design is safer to use chemicals will not drip down your back. Internal piston pump delivers up to 150 PSI
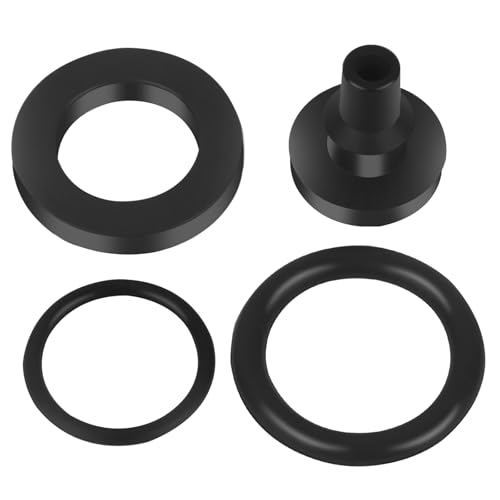
【182656 Sprayer Pump Service Kit】Compatible with Most 4-Gallon Smith Performance Sprayers: Nl400, Nl401, Nl402, Nl403 Backpack Sprayers.

Achieve consistent coverage: Adjustable nozzle delivers even spray output, helping avoid missed spots during weed control, pest treatment, and fertilizing
Safety Tips: Avoid Stings and Skin Irritation
Always wear appropriate protective gear when tackling a wasp nest. Long sleeves, pants, and closed-toe shoes help cover your skin, reducing the chances of stings. Light-colored clothing is recommended because it makes it easier to spot wasps that land on you, allowing you to react quickly. Don’t forget a veil or safety glasses to shield your face and eyes. Gloves with sealed wrists are essential, asps often target exposed skin during nest defense. Use thick fabrics and consider nitrile gloves underneath to prevent stings and chemical splashes from DIY sprays. For reliable outdoor defense, motion sensor sprinklers can deter wasps from nesting near garden areas by surprising them with a sudden burst of water. While foggers are commonly used for indoor roach control, they are not recommended for outdoor wasp nests because fogger residue can be ineffective against direct wasp contact and may drift toward unintended areas.
Move slowly and calmly around the nest; quick movements or flailing can trigger aggressive attacks. If you do get stung or come into contact with spray, wash the area immediately with soap and water. Avoid squeezing stingers; instead, scrape them out carefully. Applying ice helps reduce swelling and pain. Keep an eye out for signs of allergic reactions, such as difficulty breathing, swelling beyond the sting site, or dizziness. It’s a good idea to have someone nearby for assistance, especially if you’re handling a large or active nest. For additional protection near water features, consider using pond netting to block wasp access to nesting sites.
Where Not to Spray (And Why Indoor Use Is Risky)
Using wasp spray indoors in living spaces such as bedrooms, kitchens, or play areas is risky and generally not recommended. These products are designed for outdoor use and can leave pesticide residues on high-touch surfaces and near food-contact areas. You must adhere to spray restrictions that prohibit broad application on walls, floors, or furniture in occupied rooms. Instead, use the product only in designated areas like attics, garages, or crawl spaces, similar to how top bird netting is selectively placed to protect crops. For example, you might rely on mosquito dunks for rain barrels instead of spraying near standing water indoors. Building a DIY bee suit offers a similar approach to using protective gear selectively for targeted tasks.
Avoid spraying near bedding, toys, or dishes, as these surfaces can trap residue and pose a risk of exposure. Poorly ventilated areas such as closets increase indoor hazards by trapping vapors and elevating inhalation risks for people and pets. Never spray near food, heat sources, or electrical fixtures to prevent contamination and fire hazards. If you need to spray near aquariums or pet beds, cover them beforehand to prevent pesticide contact.
Spraying in cramped, enclosed rooms is especially dangerous because it causes residue drift and prolongs vapor exposure, increasing health risks well beyond the product’s intended use. Always prioritize proper ventilation and follow label instructions to minimize indoor hazards.
When to Call a Pro Instead of Using DIY Spray
If the nest is larger than a softball or growing quickly, you should call a professional. Larger nests indicate a mature colony with more wasps, which increases the risk of stings. DIY treatments are typically ineffective against bigger nests because they may not reach the core or fully eliminate the colony. Accessibility issues also warrant calling a pro. Nests inside walls, attics, or tight eaves are difficult to treat thoroughly without specialized equipment, risking leftover active wasps. Continual buzzing near your doors or deck signals aggression and danger. Avoid spraying if children, pets, or allergy sufferers are nearby, as a single sting can cause severe reactions. If DIY efforts fail and wasps keep returning, it’s time to contact a professional for safe and effective removal.

6-in-1 Wasp Nest Removal Tool Set:This tool set is a versatile solution that makes it easy to remove and clean wasp, wasp, yellow jacket, and bird nests. wasp nest removal tool includes an aluminum telescoping wand, multi-edged blade, 3-inch scraper, spray can extension wand adapter, cleaning brush and safety goggles.

【Efficient 3-Blade Scraper】This wasp nest removal tool is fitted with a sharp triple-edge blade to slice through wasp, hornet, and mud dauber nests effortlessly. (Warm Reminder: The blade is coated with anti-rust oil; slight welding marks on screws are normal and won’t impact performance. Feel free to contact us if you need help.)

Triple Blade Carbon Steel Design: the wasp nest removal tool features three sharp carbon steel blades, which can effectively remove wasps and yellow jacket nests; The blades are equipped with protective rubber strips to prevent accidental contact, allowing for safe storage and handling; Remove dangerous wasp and hornet nests while keeping a safer distance from roofs, trees, gutters, and eaves; The multi-blade design provides professional cleaning and is suitable for homeowners and professionals